Man nimmt dieses „Bauwerk“ eigentlich schon fast gar nicht mehr wahr aber es ist ein sehr interessantes Stück Geschichte des Saarlandes. Es befindet sich auf dem Hügel zwischen Felsberg und Berus. Oft sieht man aus der Ferne am Abend bereits die markanten roten Lichter der Masten.
Also habe ich mich entschlossen ein kurzes Video darüber zu drehen. Es zeigt anhand von Luftaufnahmen die Ausmaße des Ganzen. Darüber hinaus habe ich aus dem passenden Wikipedia Artikel Fakten mit ins Video gepackt um so ein wenig Information mit rein zu packen 😉
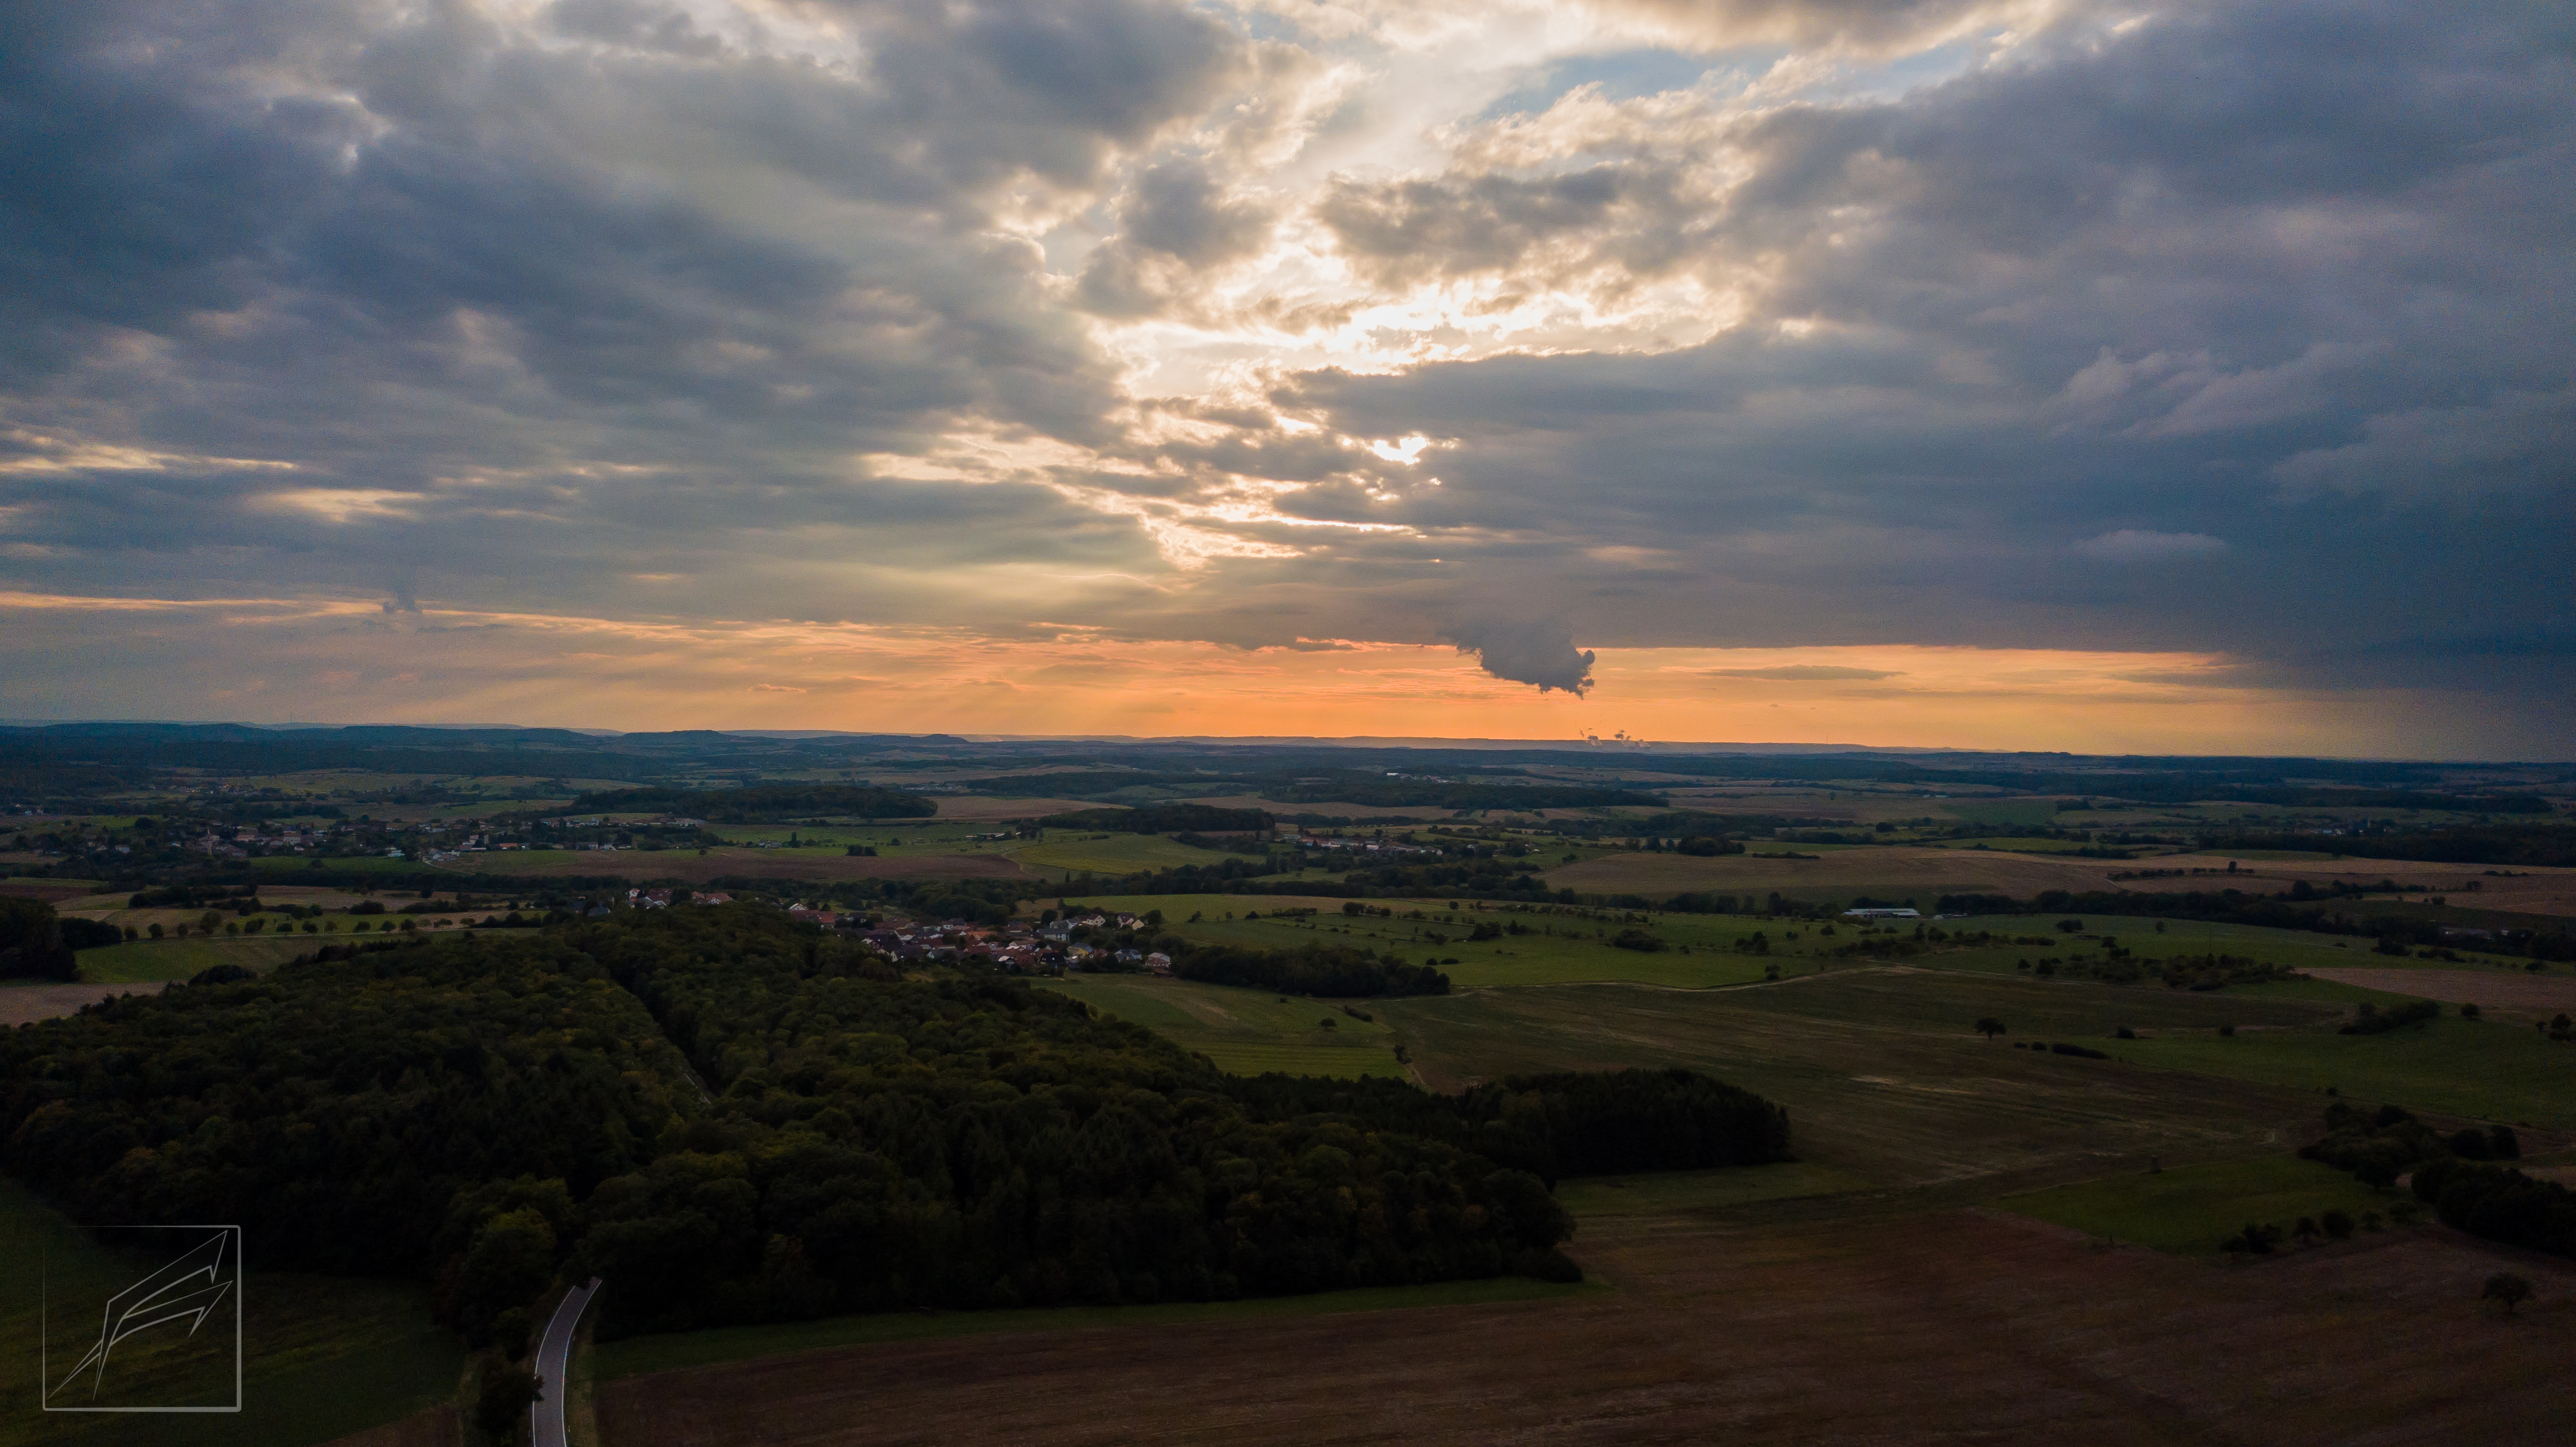
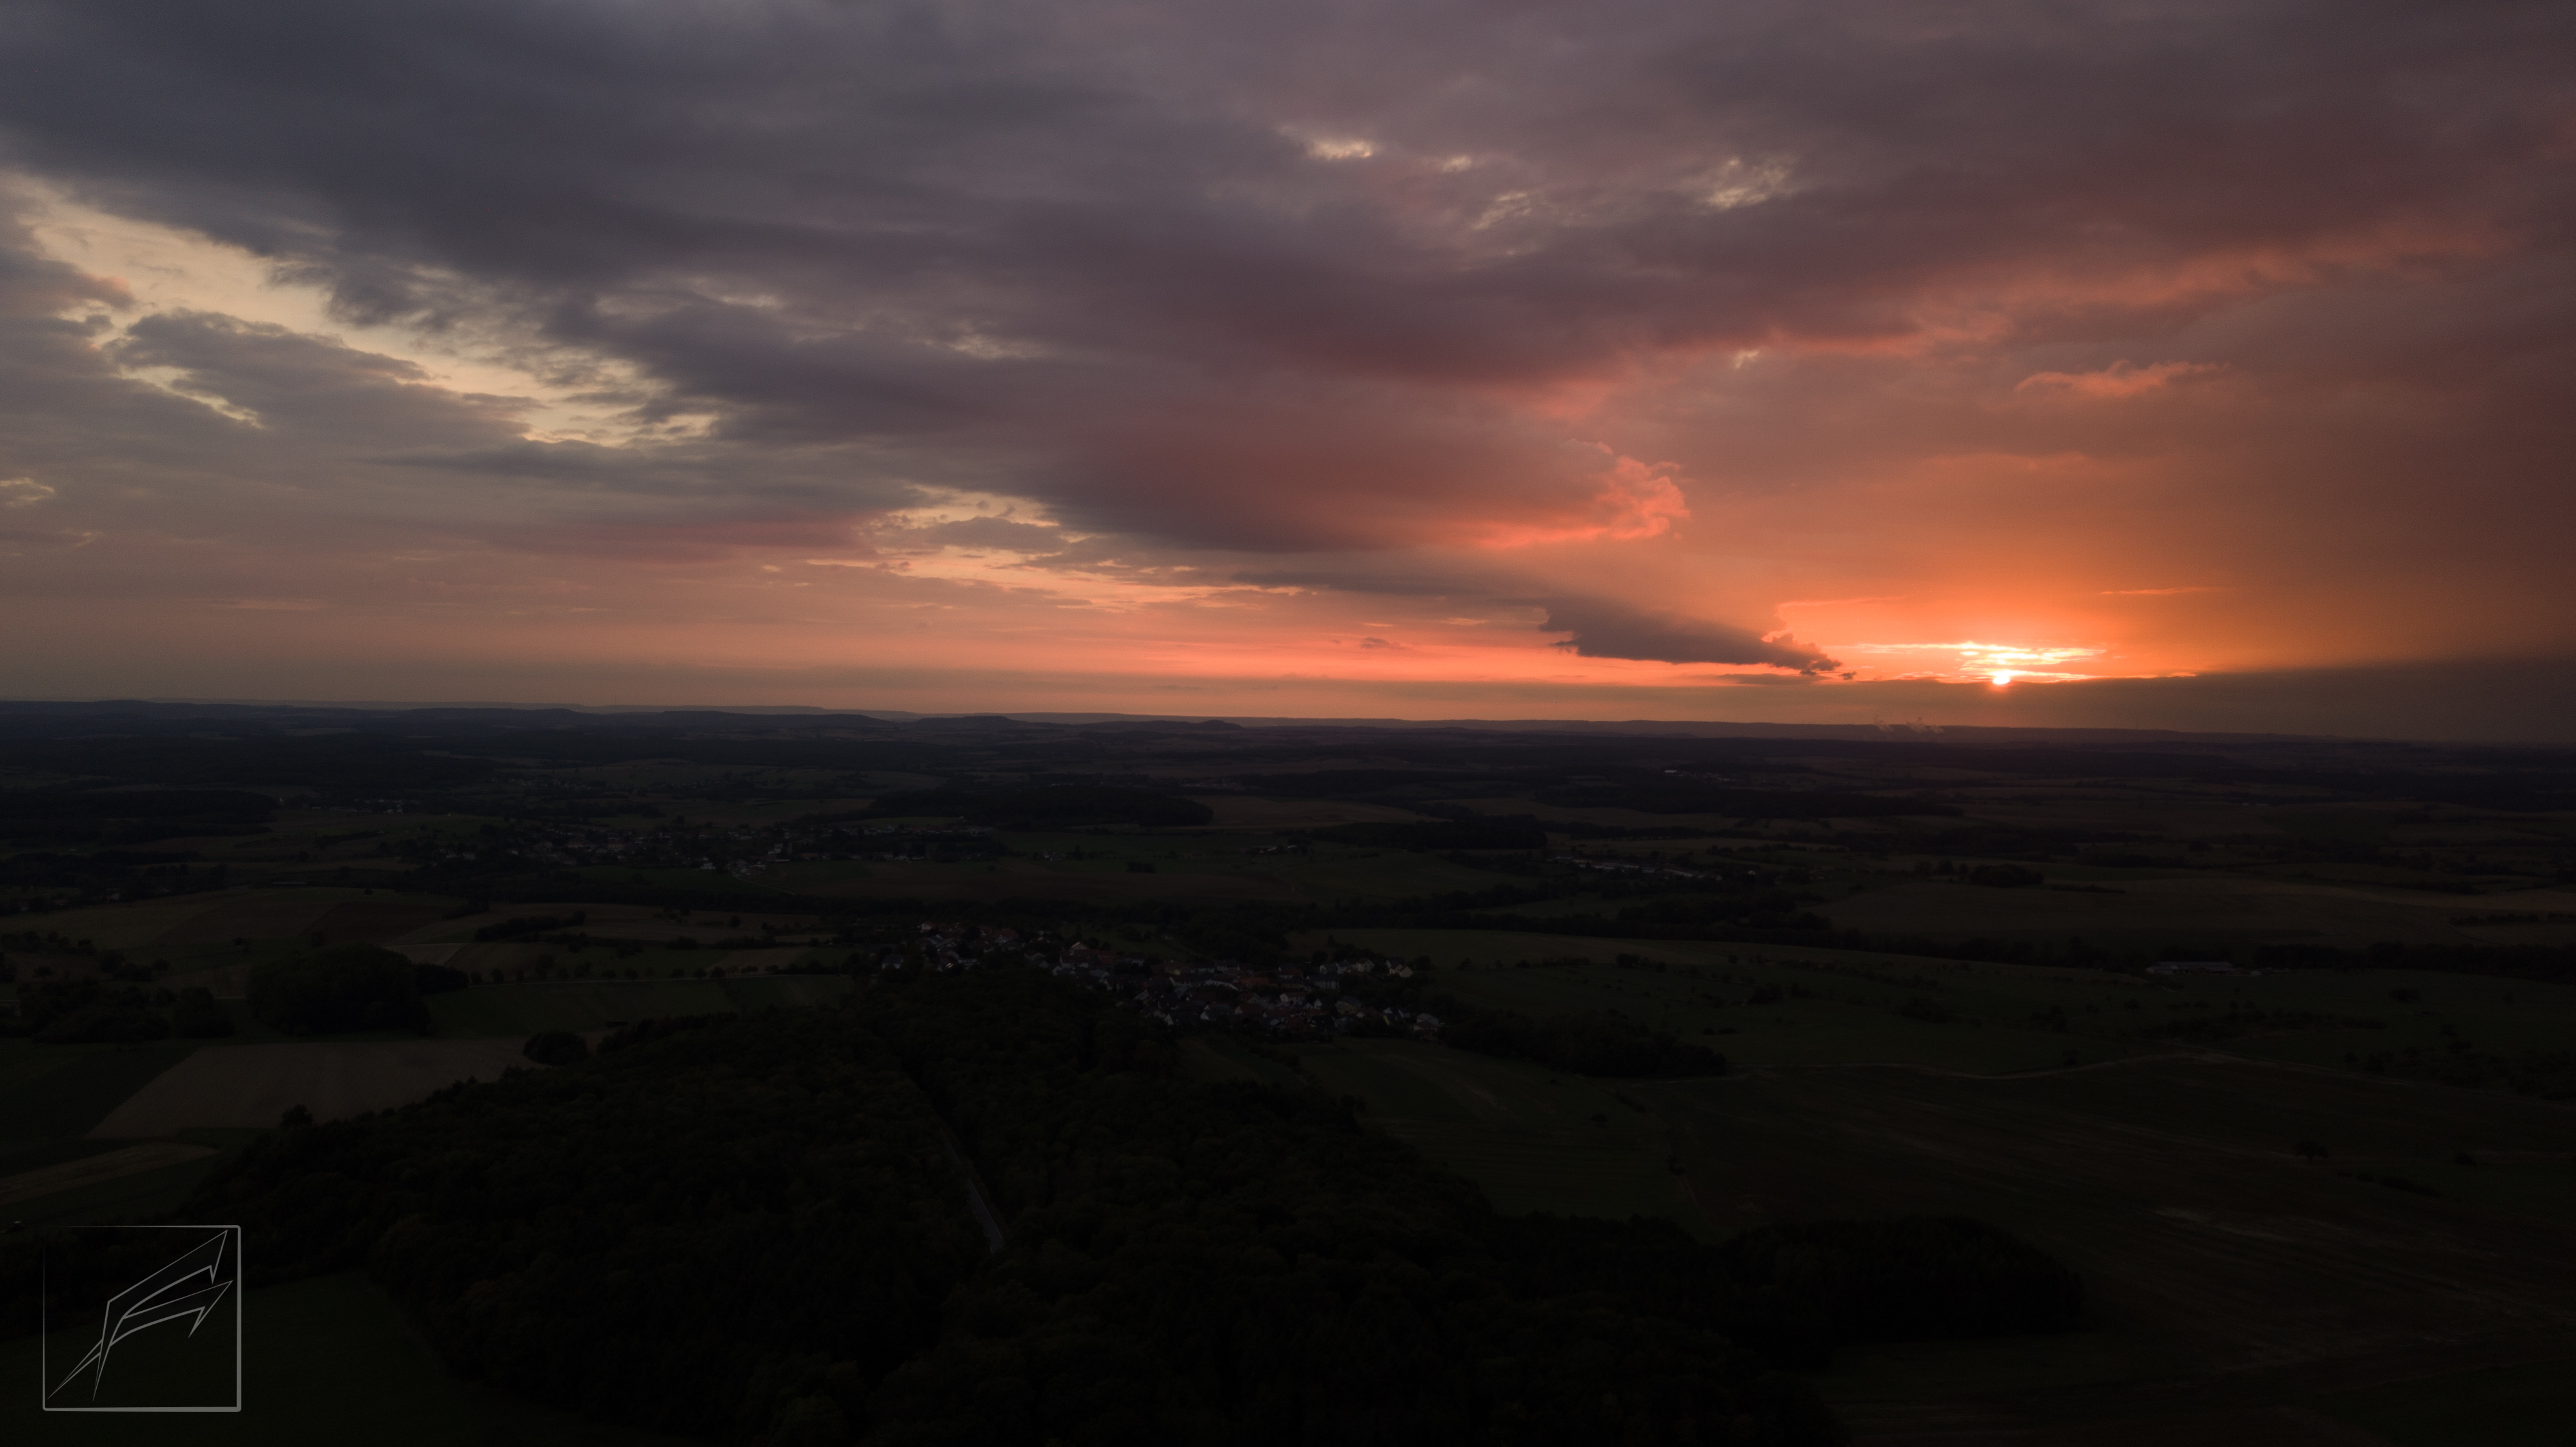
Ich war mit meinem besten Freund unterwegs auf einer kleinen Tour, bereits mit dem Wissen im Kopf, dass es regnen würde, als es tatsächlich möglich genau dann den Sonnenuntergang zu beobachten, als langsam die Regenwolken von Norden her hereinzogen.
Als dann der Sonnenuntergang kurz bevor stand, machten wir dann halt.
Um 19:00Uhr herum sah das noch nicht so spektakulär aus…
Kurz darauf begann aber das Farbspektakel…
Die Sonne verbirgt sich noch immer hinter den WolkenGegen 20:00 Uhr dann kommt die Sonne endlich hinter den Wolken hervor und wirft ihre letzten Strahlen quer übers Land. Der Schattenwurf der Bäume und Hügel lässt sich besonders gut aus der Luft beobachten.Kurz darauf ist der Sonnenuntergang im vollen Gange. Man sieht jetzt noch besser die angestrahlten Felder und die Schatten der Bäume.Nur 8 Minuten Später verschwindet die Sonne erneut – jedoch nicht etwa am Horizont sondern hinter einer weiteren Wolkenfront. Jetzt ist praktisch nur noch der Lichtkegel sichtbar, wie er die Wolken von unten anstrahlt.Zum Abschluss noch das komplette Landschaftspanorama mit Sonnenuntergang ca 8:00.
Despite the weather I felt the urge to have a good practice session but was aware that flying in the rain is a bad idea although the Mavic should survive it. Also the winds made me think the overall conditions for flying as a novice aren’t ideal. So I sat there on the spot, waiting for the rain to stop and the wind to calm down.As soon as I could see there were no drops hitting the windscreen of the car, I headed out and took off. Then, I flew around in short circles, increased the height step by step to get a sense if the drone is happy with the conditions up there.
A short moment later after flying a rather large circle it got caught in the clouds – I couldn’t see it anymore and the video feed told me I’m now completely submerged into the low hanging clouds. The only thing that kept me on course was the map and I realized at this moment I was already 230m AGL and the battery was at 50%. Not wanting to take any chances I decided to decrease the height and prepare for landing. So I turned around towards my position and hit down. To my surprise the height increased. Shock! [2:00min mark] I finally managed to decrease the height by turning around and keeping the stick down and soon I could re-establish visual contact with the drone…I was relieved.
…it was worth it but the lesson I’ve learned yesterday is: always take updrafts into account.
This post is intended to help others achieve great results with their camera.
When I began using the Osmo+ I was baffled at first what this thing can do but soon the euphoria came to a halt because the material just didn’t look as natural as I’d like. Especially shots of cars felt weird as if something is wrong or missing. I even went through the process of viewing the resulting videos on different screens…This is where the story begins. Right now I’m testing different styles and settings and -prior- I’ve read a lot of opinions to investigate on the subject LUT development for the X3 Zoom without spending money on prefabs. Almost no profile provided satisfied my needs and if so the thing is just too pricey. Most of the supplied LUTs are even developed for aerial photography on the Mavic or the-like. Getting nowhere with the color correction stuff I headed out to try it on my own. How hard can it be to develop a self-made LUT anyway? We’re talking about color correction after all!
After several tries I came to the conclusion that simply the base correction is key, while also taking care of the camera settings in the first place in order to receive natural looking, vivid colors with the camera. You can then go ahead and safely add color corrections to give the image a certain visual style as you prefer and not as the seller of the LUT wants it. Just getting the whole color spectrum right without applying any effects. So the ultimate goal is to achieve a safe foundation, a starting point for getting the most out of it. This means having your camera set up correctly. It is absolutely vital to produce footage that’s close to what you expect. No software can effectively turn bad source material to perfect cinema-quality videos and if it could, the rendering times are just terrible…
So once more I’ve jumped into the car and recorded some footage to test out what works best. After this trip I was confident to have something to share with the community!
Alright – first things first, here’s a comparison video where three different styles have been applied on top of the LUT correction and in the LUT applied without any effects. The first two clips are recorded out of the window while it was down, the other two are recorded straight through the windscreen:
This LUT is optimized for best performance of the sensor which means shooting at ISO 100, 1/60 for 30fps and 1/120 for 60fps. In order to achieve that it might be necessary to have a set of ND filters handy. In this video for example it was necessary to put on the ND16 even though the Sun was just two hours away from setting. Keep in mind that the source material must be free of artifacts of any sort in order to achieve clean output. That’s something I forgot to take into account way back when I just started to use the Osmo+ Profile: D-Cinelike Saturation: +2 Contrast: 0 Sharpness: -1
Why Cinelike? Most of the information on the web states that D-LOG is the way to go but this profile produces weird artifacts like moireé and grain that can’t be removed easily. It’s just not right for the X3 in my opinion. You’ll get a 100% better results with D-Cinelike right from the start. Usually you would want to have the source material as flat as possible to have more leeway in post production. Unfortunately the sensor of the X3 doesn’t cut it with the D-LOG profile and what you’ll end up with it is just muddy material.